
3 Tips for Better Class Video

Video has changed so much over the years. Oh boy, I still remember those old home movie reels. Scratchy, blurry, and inconsistent, but oh so charming to watch! But now I’m just showing my age… The digital video we now enjoy is such a convenience in comparison. The thing is that it really doesn’t work that differently. Let’s talk about the basics.
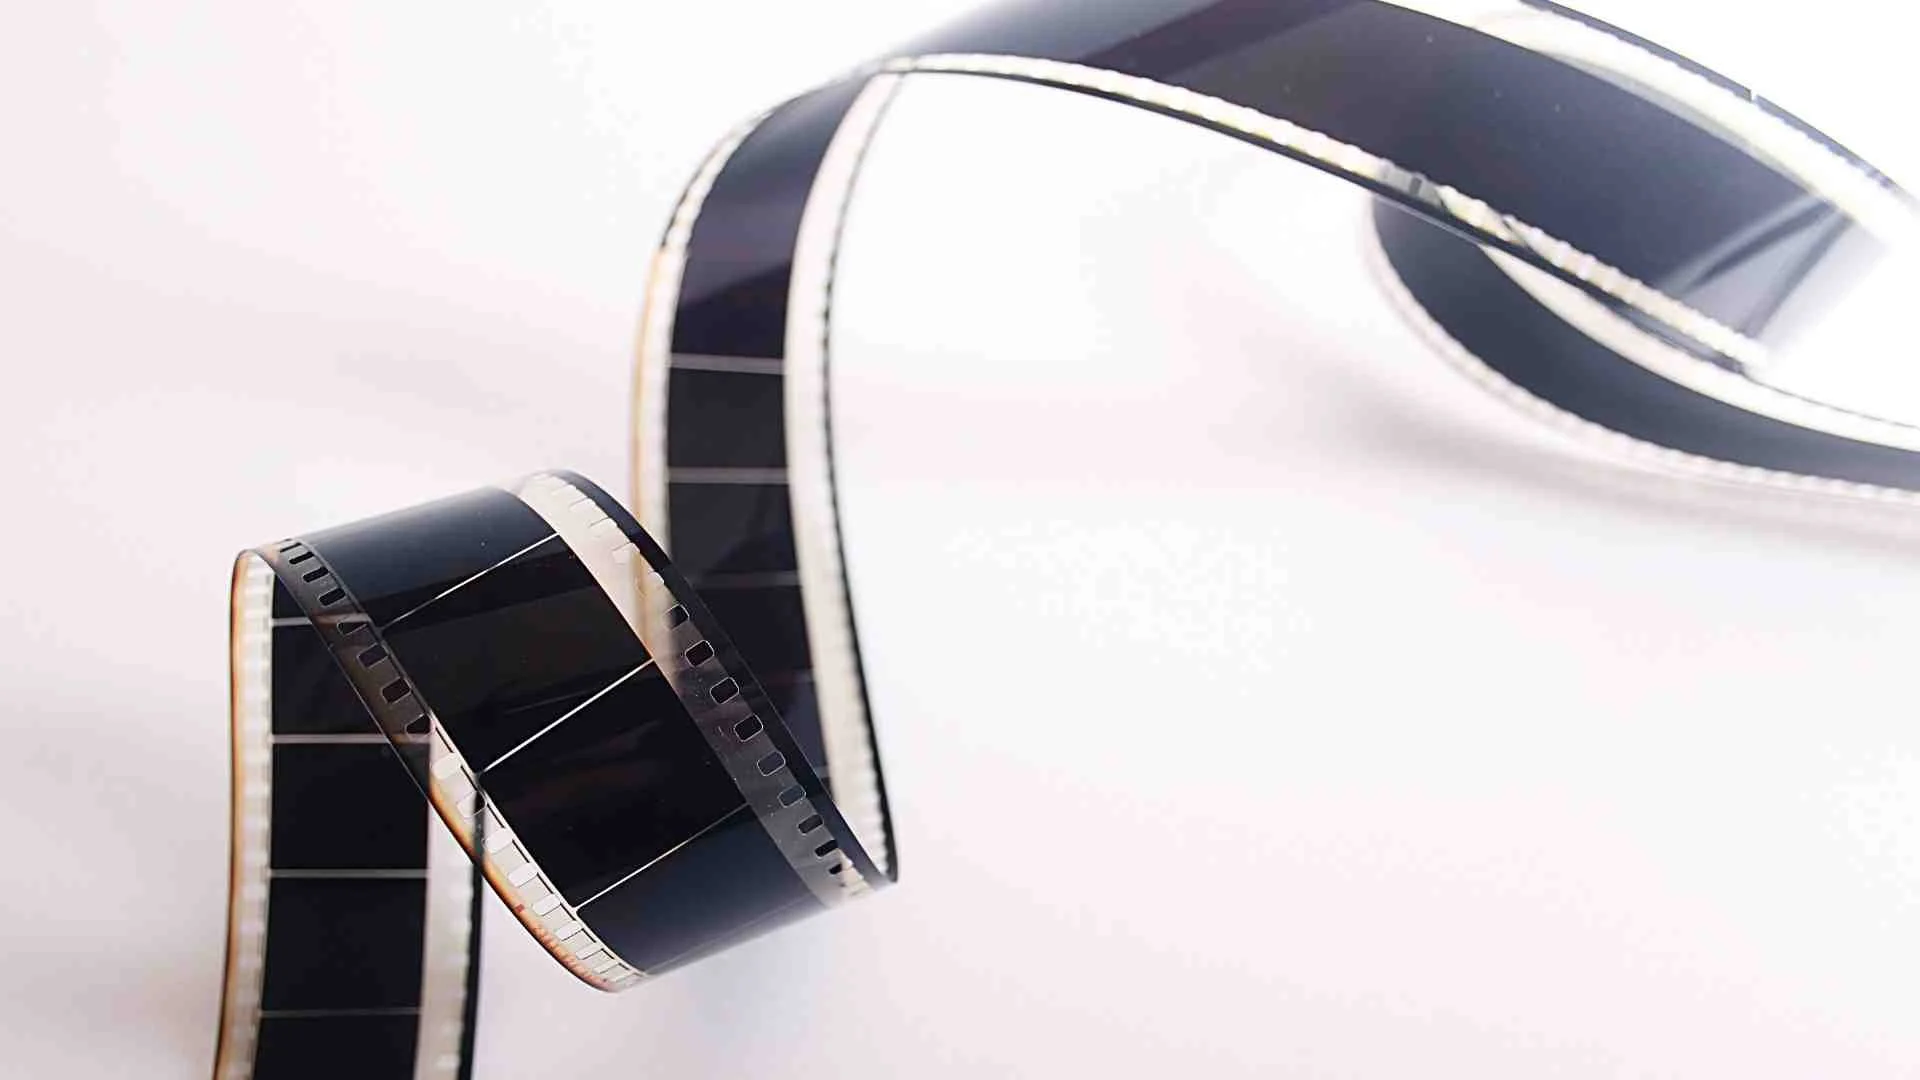
If you do remember those old movie reels, you’ll know that each little square on the reel represented a frame. Each and every frame was different, showing movement when played on the projector. Digital video uses the same concept of frames. When you record a video, the camera captures your movement with many more different frames than we're in those old home movies.
In fact, Frame Rate is a big term when talking in video production terms. It means how fast those frames are running when the video is playing. A popular speed is 24 frames per second to allow for a smooth and natural looking clip.
Then there’s the high definition factor. Because we can record video with such a higher number of pixels than in past decades, digital film looks clear as real life. So we already have some amazing features at our disposal, but to create good video, you’ll need to know more.
That's why I have some tips for you this week to give your video an instant boost:

Lighting
Lighting can be the difference between a great video and a not so great video. Light brings out all the elements in your frame, like color, shape, composition, and skin tone. Good natural light will always be the best for filming. With that in mind, many cameras allow you to make adjustments to make your subject brighter right on the spot, in the case that you don’t have enough natural light.
If you don't live in a place with lots of sun or at least good diffused lighting most of the year, you'll need to purchase a daylight bulb. A ring light is also popular choice for class creators, which I’ve shown i the image above. The Canvas iPhone stand/light can brighten up your space beautifully while keeping your camera stable.

Camera Stability
Which brings me to my next point. The stability of your camera is another huge factor. Did you know that camera stabilizers are a thing? The more stable your camera, the clearer the video. If you’re filming a workspace for demonstration, you can get a table stand like the one above for $20 or under. All you have to do is pop in your smart phone and position it.
If you film with an iPhone like I do, the Canvas light I mentioned above will work great for this as well. (It sounds like I'm trying to sell this product but I'm not. I promise! I don’t even own one, but it sounds like a great product from what I’ve heard.)
Otherwise you can get a tripod online for, plus or minus, $20 as well. There are different sizes, thicknesses, and qualities, so be sure to read the specs before you purchase!
Screen Tests
Doing a simple screen test of what you're about to film, is another one of the things I really wish I'd known sooner. I could've saved so much time had I done this before I started filming hours of video, only to find out that something in my background looked awry. Or my lighting was slightly off. Or I was standing just outside the center of the frame.
As you can see, there is a long list of things that you can fix by doing a screen test for even just a few seconds. If you make this part of your workflow, it can save you tons of time!
We'll be doing more discovery about how to improve your video, but these three tips will really help you in the beginning.
Let me know in the comments below if you’ve tried any of these and how they worked!