What Video Categories Should You Include in Your Classes?
Want to share or save this blog post to Pinterest? Just click and Pin!
So maybe you’ve, chosen what to teach about, what topics you’ll focus on, and you’ve got all your equipment and apps ready to go. One of the things we haven’t talked about yet is what category of videos should you include in your class?
What do I mean by that? Well, each class has a structure and hierarchy of video categories so that the class makes sense to students and it flows well. For example, The first video you should share with students is the introduction video, or intro as it’s called by course creators.
The intro video will be your class trailer, or introduction to what you’ll be teaching, why you’re teaching it, and how the project will be executed. Explaining who the class is perfect for is also a good thing to include. For example, is the class for beginners or another stage of learning? A one, to two and a half minute video, is plenty, so you don’t have to share all the details. However, do add snippets of different parts of your class as a teaser. There should be enough information to entice potential students into staying a while to discover the class.
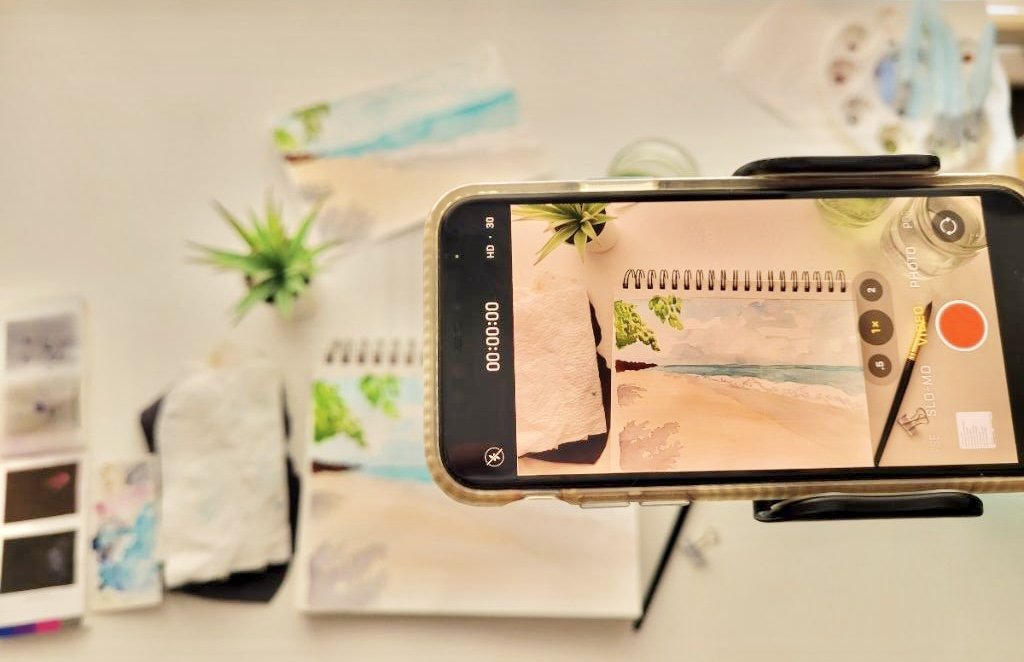
A shot of my iPhone while filming my latest Live Watercolor Painting Session in July. The is considered a Demo Video.
If your class is project based, the next video should explain what students need to complete the project your teaching them. They’ll need a list of supplies, websites, or apps you’re using for the example work. Let’s say you’re a Procreate teacher. You’ll want to show a video about how to download the app, as well as on what kind of devices it’s available. Many know you can use an Apple Pencil on the iPad Pro, but few know that the iPad Air is also an Apple Pencil friendly.
Next you’ll talk about the concept or idea of what you’re teaching. As a watercolor instructor, I often create a video sharing my ideas and reasons for teaching the skill. What will this skill do for them? How will it impact their learning journey? Some of these things should be quickly mentioned in the intro video, but this gives you a chance to go into more detail.
The following videos should be demonstrations, or demos as they are often called, to show how to execute the project and or skill. I usually include between 4 and 12 videos broken down into different parts of the project so students can see the process inside and out.
Me while filming a demo video for my newest Skillshare class.
Next I do an overview video, reviewing the steps I just taught in the demos. I show the steps in list form so students can simplify what they learned in the class. This is a step I added to my teaching process in the last year, but wish I had done it much sooner. It gives students more clarity and a more concise view of the information they’re taking in. This makes for a happier, more satisfied audience who will be more apt to continue taking your classes.
Finally, I create a video to thank students for taking the class, tell them where they can find me online, and encourage them to take what they’ve just learned and put it to work. Asking them to act on something may seem like an unnecessary step, but it is actually very important. Remember, your audience has just taken in lots of information and they may not know what to do with it initially. Giving them clear direction for their next steps helps them make good use of their new skill.
Because we went over a lot in this post, here’s a PDF of all the video categories we discussed. Think of it as an overview that will bring clarity to your own process when creating classes. Click the button below to download it and keep it handy for your next class.


