DIY Photoshoot- A Deeper Look at the Process
Since my last blog post regarding my DIY photo shoot, several of you have reached out to me with questions. I'm so glad you're thinking about this, and I want to help you as much as I can. So I'm sharing with you some more tips about the process, and I've even created a shot list for you to use if you want to try it for yourself. Just please keep in mind I am not a professional photographer, so I don't know all the tips and tricks, but I'm happy to share with you what I did.
If you're not familiar with the blog post I'm speaking about, let me give you some backstory. In early 2020 I was ready to do a brand photo shoot for my creative business. As you can imagine, with the shutdown going on, it was impossible to hire a professional photographer. That's when I decided to try my hand at a DIY brand photo shoot. I figured what did I have to lose? At the minimum, it would be a wonderful experiment and I might even have fun. I did some research first. I'm glad I did because it made the process so much easier.
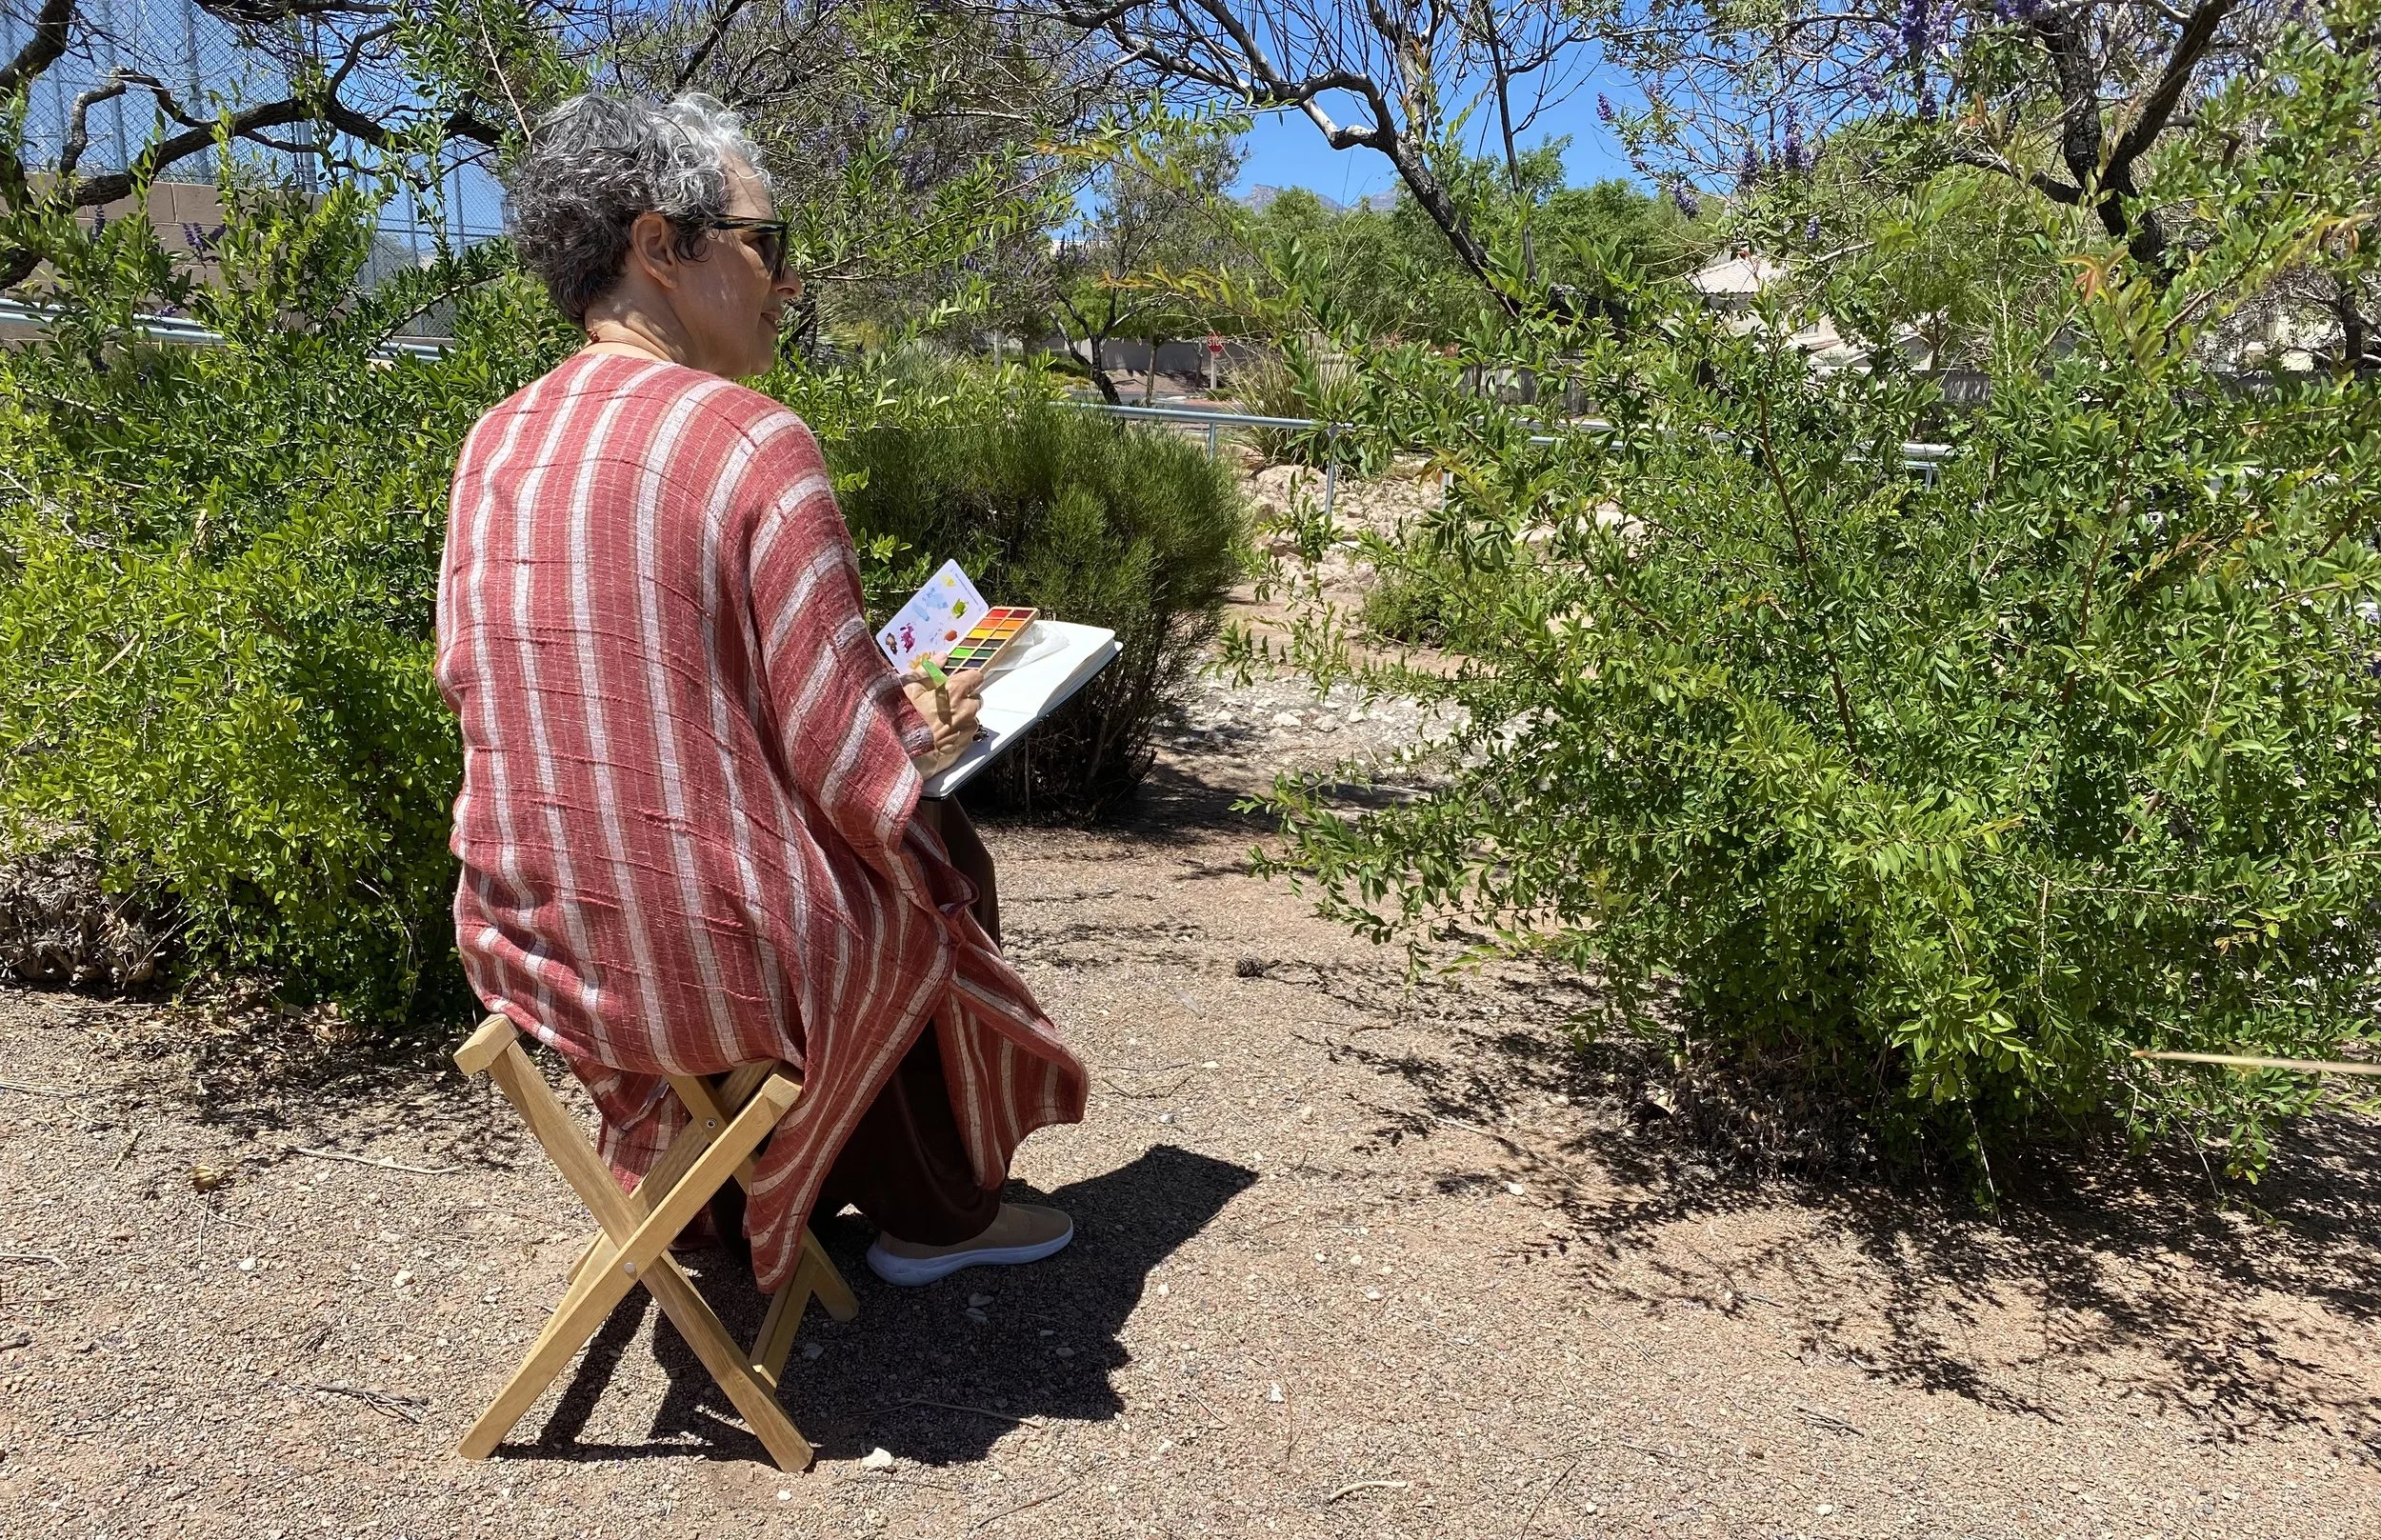
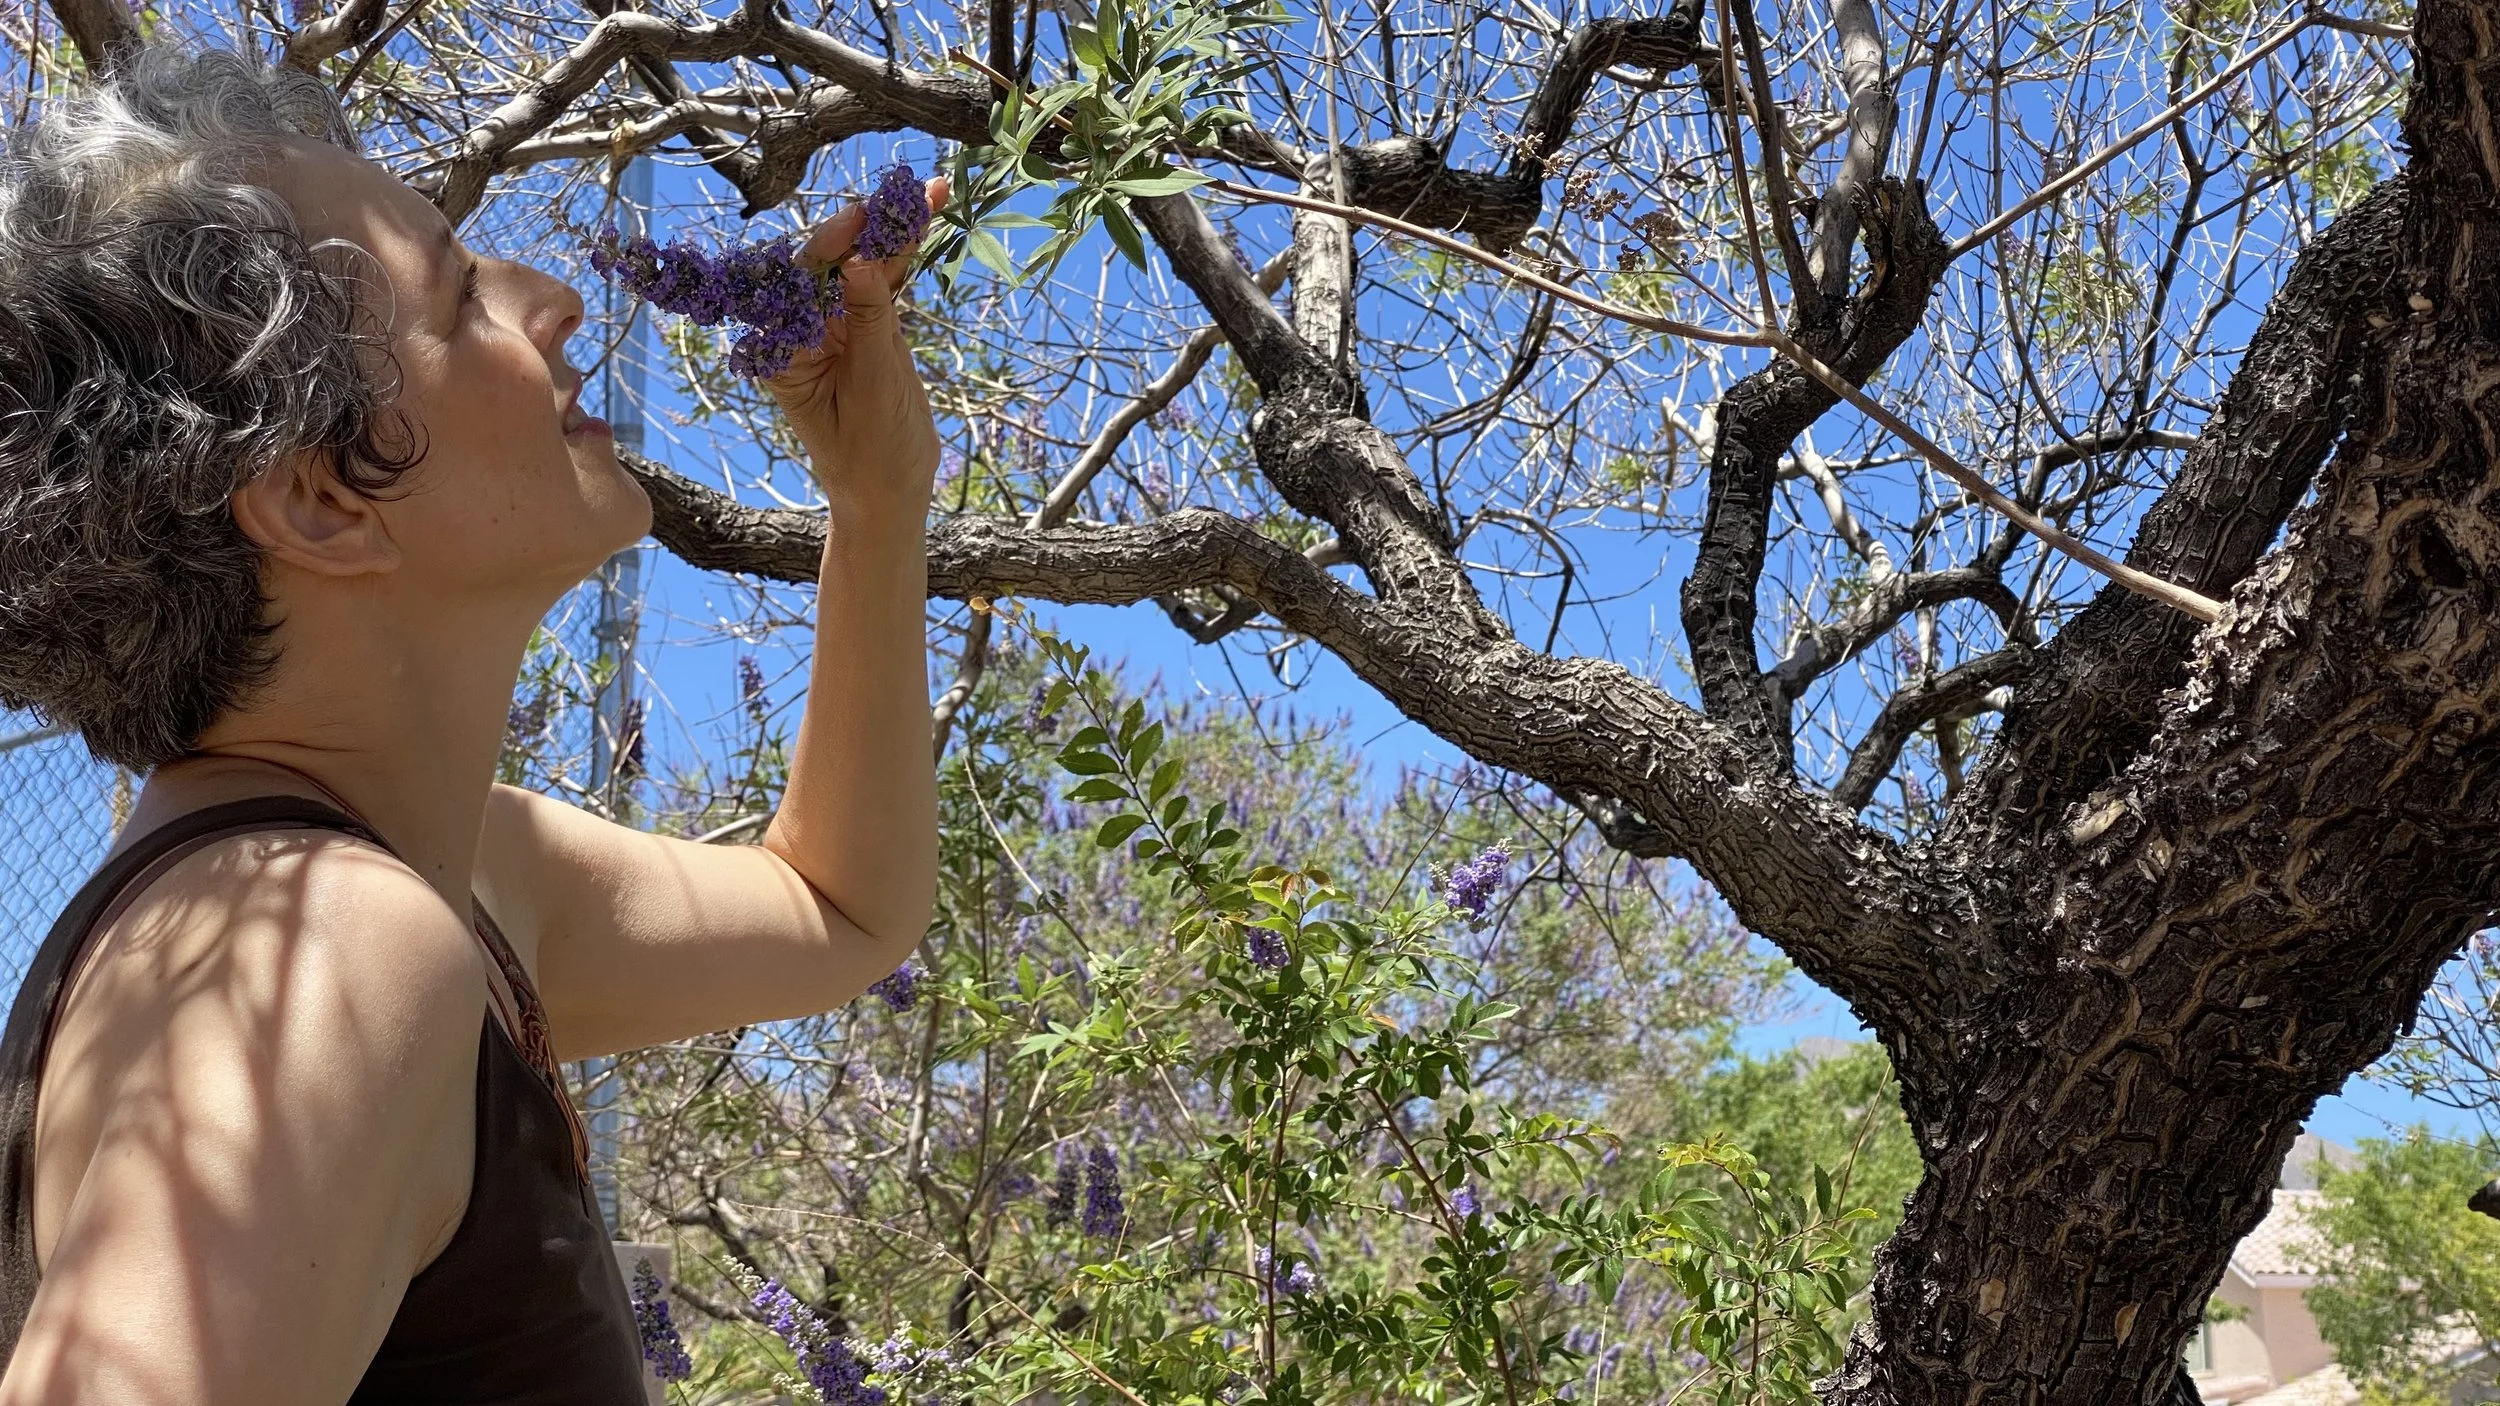
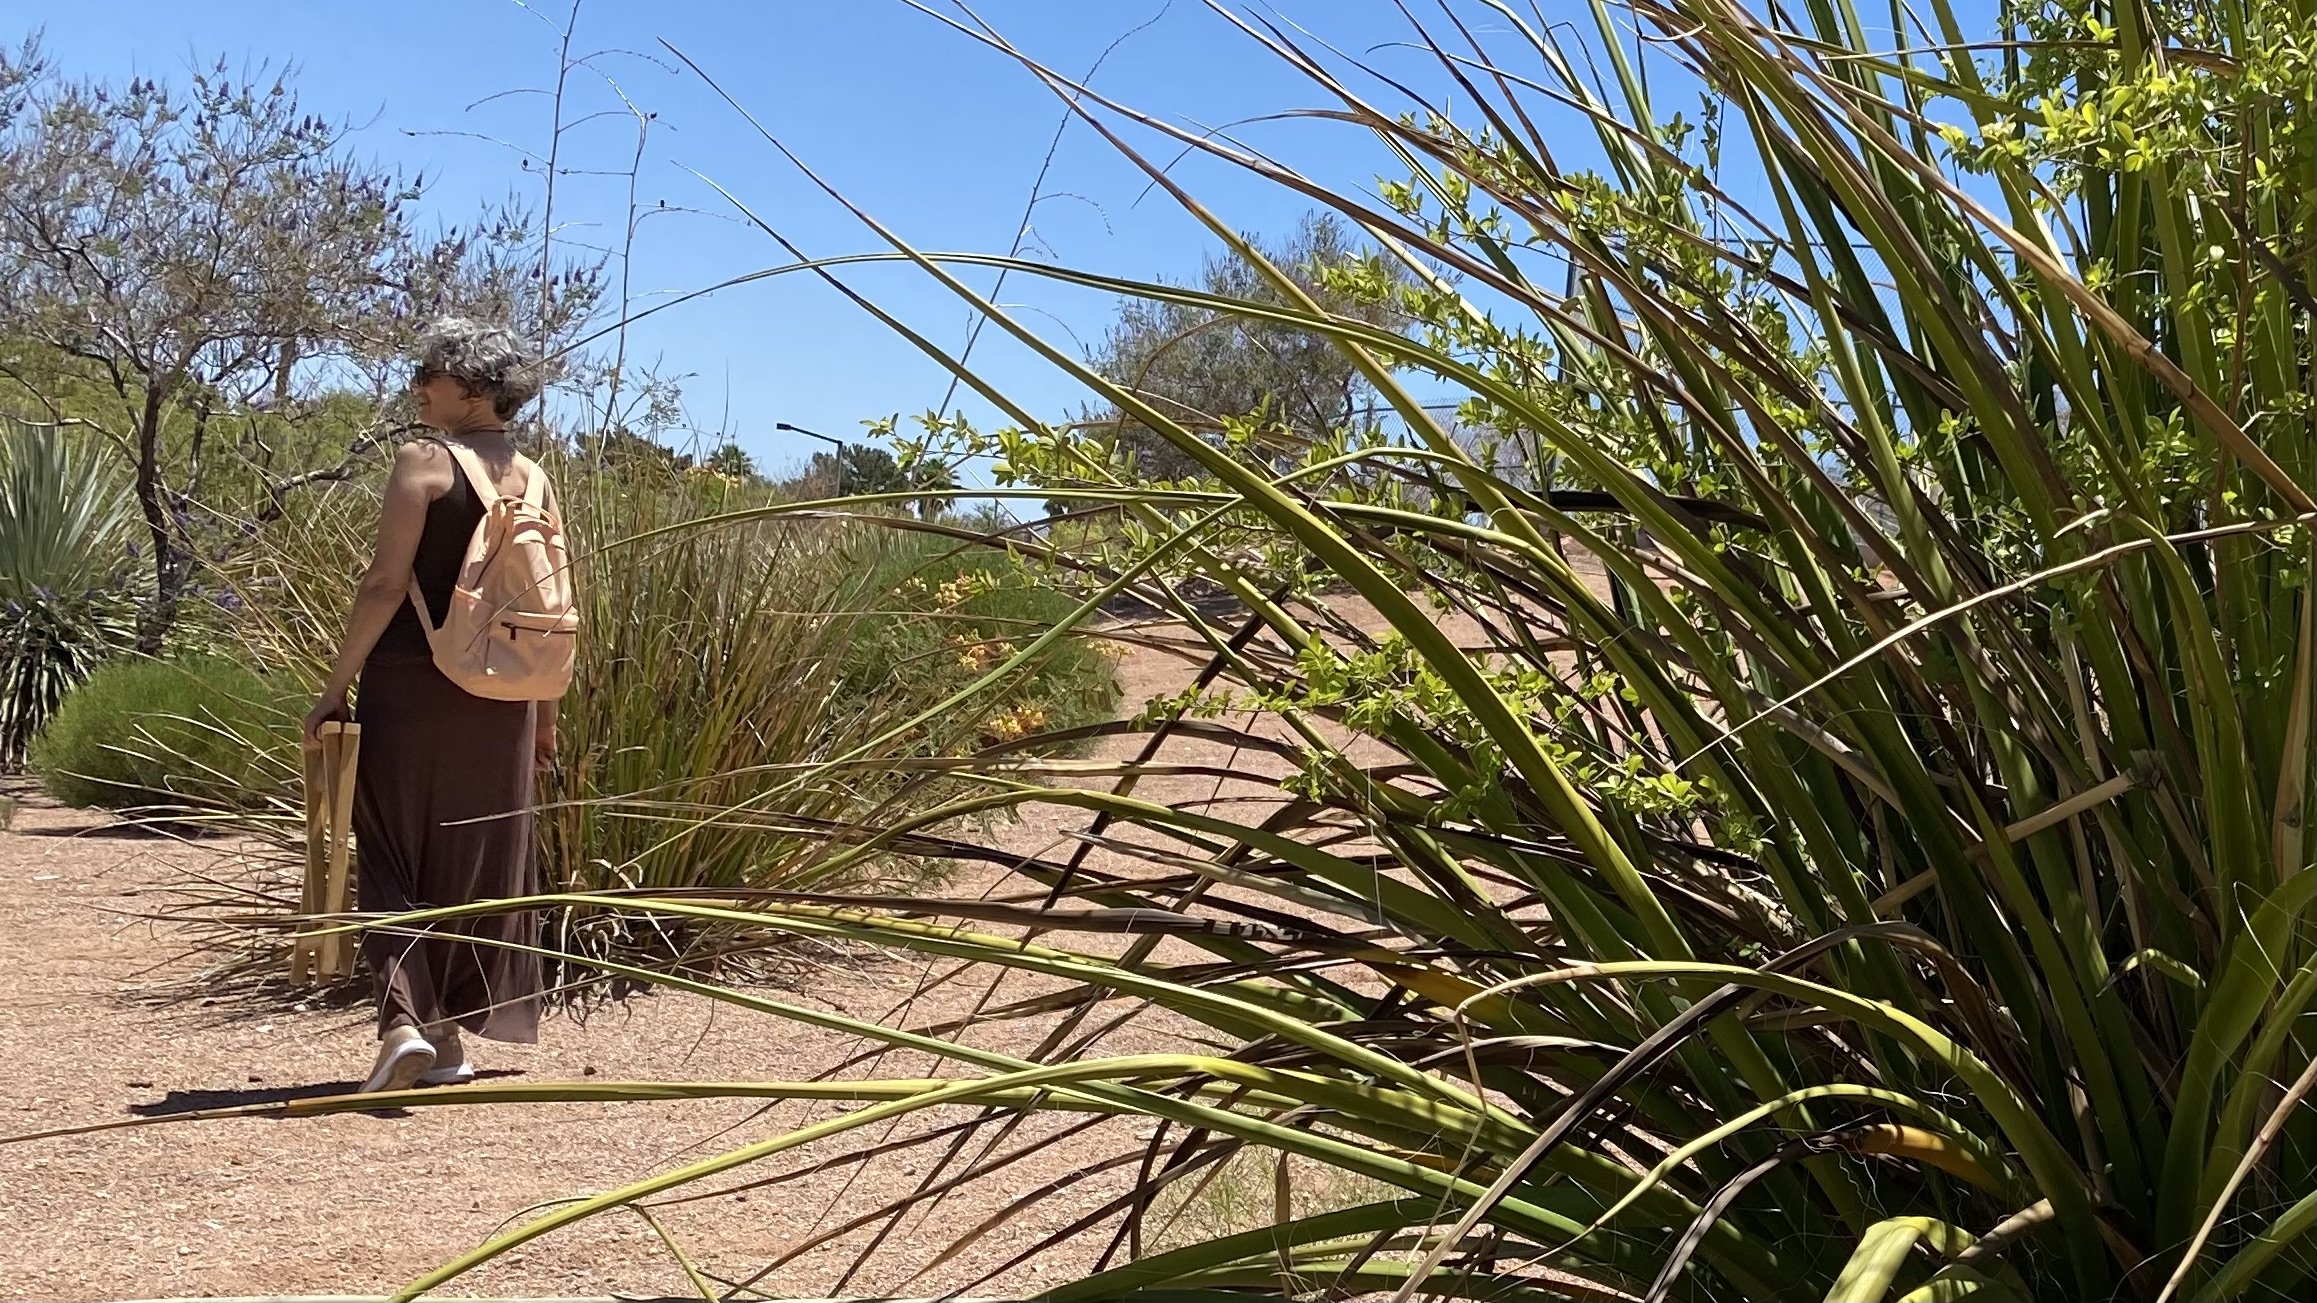
At the time it came out way better than I expected, and so I've been continuing my own DIY photo shoots ever since. I did some research at the beginning, and I'm sure glad I did. It made the process so much smoother. The images in this post are from my latest DIY photo shoot at a nearby desert garden. Because the desert is my main source of inspiration, it was a perfect setting for me to set the mood for my brand. You might notice I'm wearing my brand colors as well. All of these details help tell the story of my creative business.
But how about you? Where do you start? When you're planning your photo shoot, think about the mood or tone of your brand. Is it light, breezy, and airy? If so, you might want to be in a setting with light colors and lots of natural light. Does your brand boho vibe? You may want to wear a blouse and a flowered maxi skirt with a floppy hat. Or perhaps your brand has a dark and moody tone. In that case, you might want some dramatic architectural elements in your background, and you may even want to use a black-and-white filter on your photos.
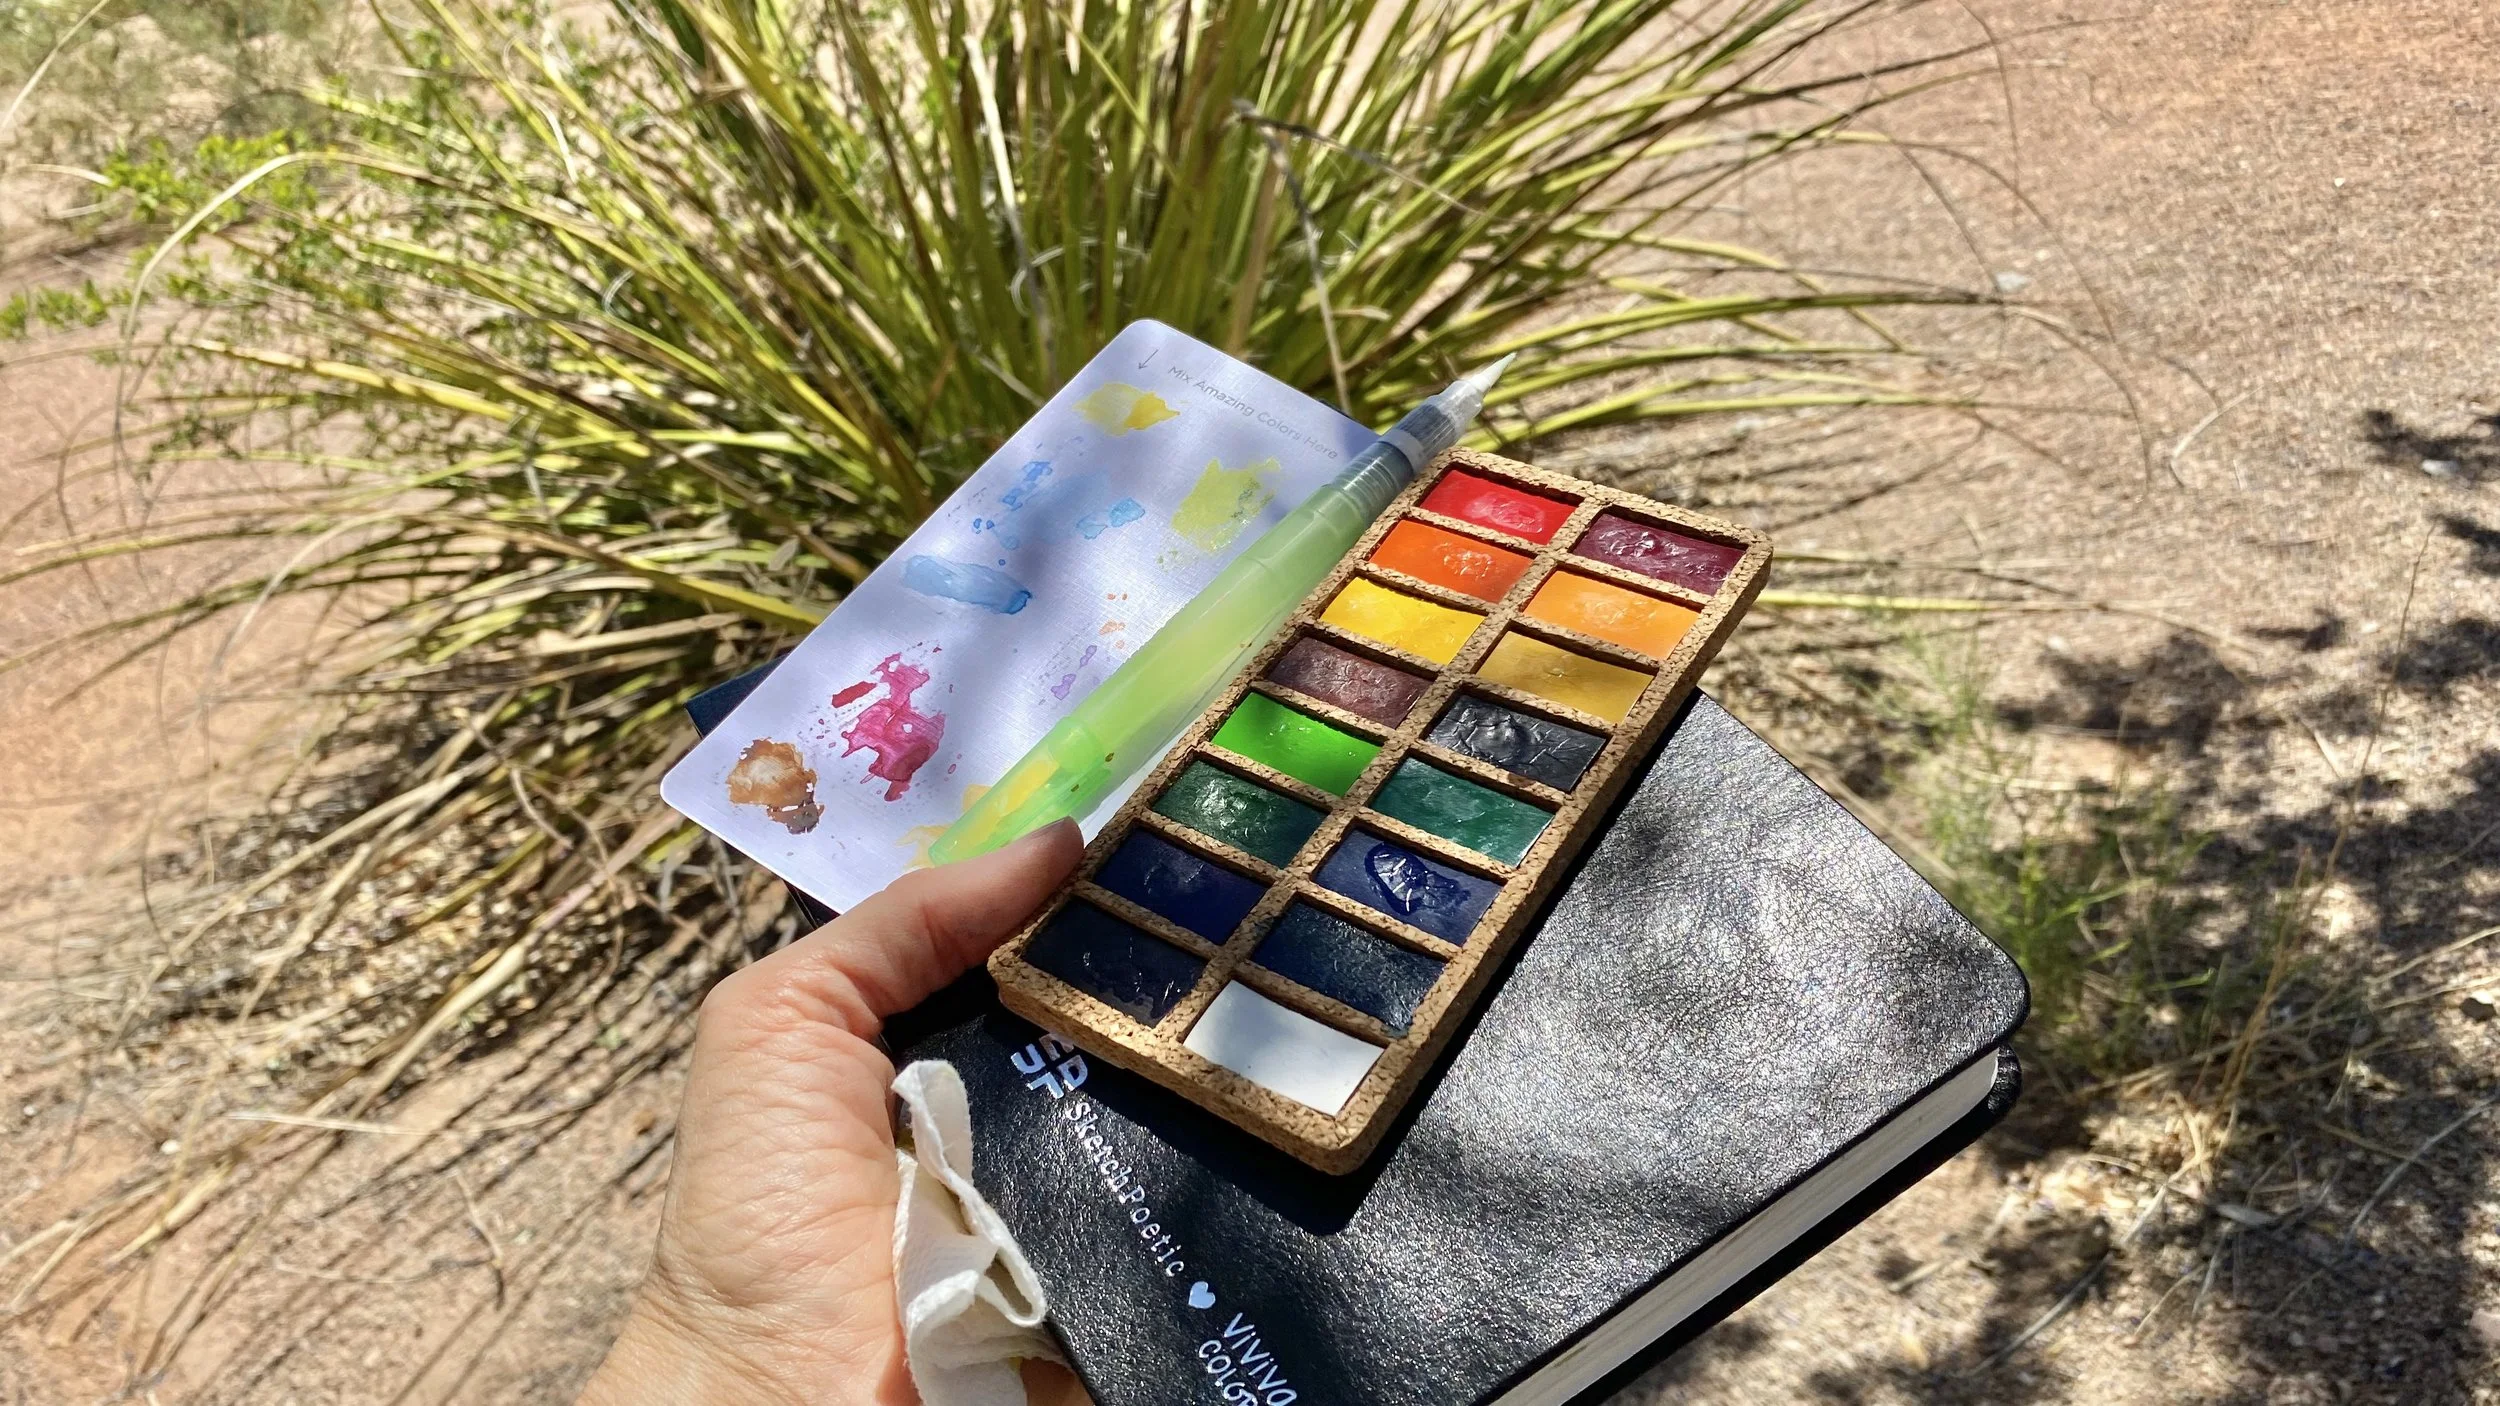
As a creative, think about how these photos can be an extension of what you create and who you are. If you're a painter, think about a painterly look. If you're a sculptor, perhaps a more textured or shadowy look is best. I also love to use props to help tell the story. For example, I love to hold brushes, artwork, foraged finds, or be in the act of painting during photo shoots.
When you fill out the shot list PDF guide I provided for you below, make double sure to fill out the Gear List. This is the list of all your essential equipment. I usually use my iPhone, tripod, and an automatic Bluetooth shutter that I purchased on Amazon for $15. It's tiny and allows me to hold it in my hand to take my own self-portraits without anyone seeing it in the shot.
Be sure to wear your brand colors during the photo shoot. It’s an extra step that will really highlight the look of your website, social networks, and anywhere else you post your photos. The color palette portion of the shot list will help you select the right colors to wear.
The most important thing is to remember to be patient with yourself and try to have some fun. Experiments are not meant to be perfect. Relax and enjoy the process! The worst that will happen is you'll have a great learning experience, and you might even end up with some pictures you can use. :-)
Did you try a DIY brand photo shoot, or have a question about my process? I'd love to hear about it! Let me know in the comments below, email me at info@octopusconnection.com, or tag me @octopusconnection on Instagram.


